Happy Hardwood : Part II (Sealing & Finishing)

Just typing that title makes me giddy. We're so close to moving upstairs...I can taste it! After living in Matt's shop since Friday, we headed up to the house to check out our brand new floors...and as you can see, the girls are in love. It's so fun to run around and not have to stop every 5 seconds to pull splinters out of our toes. 

It's amazing to me how the floors transformed from such a raw state to feeling truly "finished". The satin finish is so smooth and lovely...but not overpowering and blindingly shiny like a high gloss. Our goal was rustic...we did not want a floor that you could see every scratch and every piece of dirt. We wanted a happy, lived-in, scratched up floor :) 

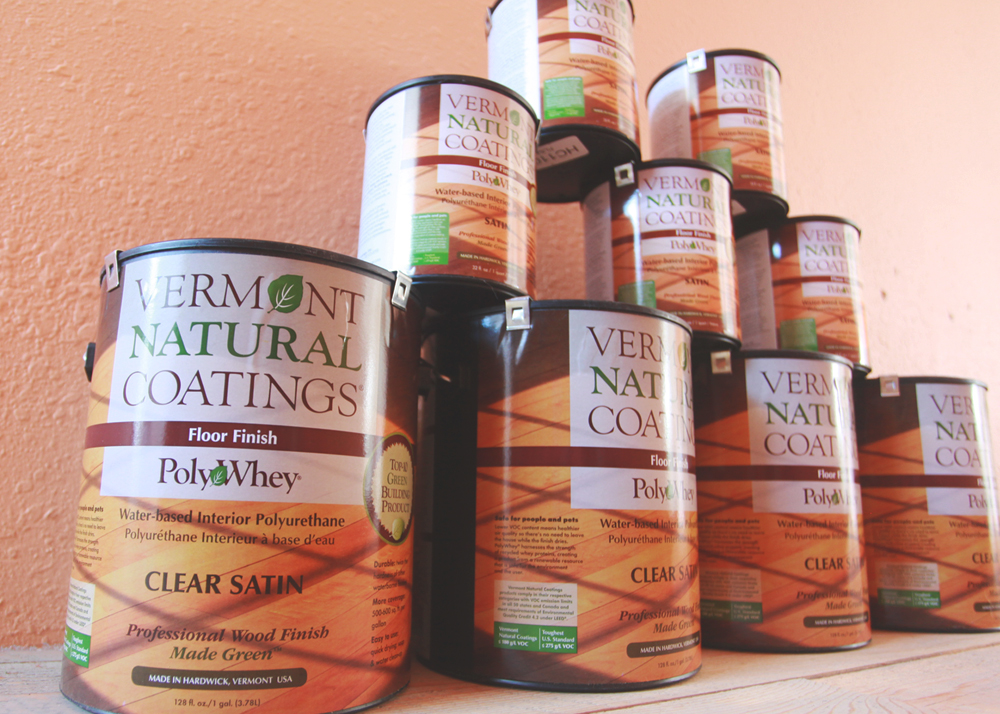
We decided to go with water-based polyurethane instead of oil-based for many reasons. Less fumes, dries faster, and easier to re-coat worn areas. It used to be that people were afraid of putting a water-based poly down because it wasn't as durable as oil...but technology has improved all things. :-) It's extremely durable and the best part is that it doesn't yellow over time. In fact, it doesn't have any color at all. Oil-based has a slightly amber color (even the clear finish)...but water-based stays clear. This was important to me because douglas fir is very warm-colored already. 

We chose Vermont Natural Coatings because they had the lowest VOC count of our water-based poly options. And all the reviews we read spoke very highly of the quality of the finish and how much they loved their floors. I was sold! It was a bonus that they are small company and it's made in the beautiful state of Vermont. Oh...did I mention that it's made out of a by-product of the cheese industry?! So cool. Watch the video above for some history and how it's made. *this is definitely not a sponsored post, we just like it!*

So how did it all happen? We started out by stirring, stirring, stirring. At least 5 minutes per can...to combine all the "stuff". 

Matt poured it on and carefully applied it to the floor. 

Once he found his groove, it went really fast. There is so much research and decision that goes into getting to this point...the actual DOING of it is much simpler than it seems leading up to it. We've learned that several times along the way. 

After the first coat, he sanded the entire thing lightly with 280 grit sandpaper....and applied another coat. It dried super fast and we could walk on it within 2 hours. We had initially planned on only doing 2 coats...but after speaking with retail reps, friends who have used this brand, and calling the company directly...we decided to bite the bullet and do three coats. 

The thing is...we're out of poly. And we have already bought out every single can from McGuckin's in Boulder. Denver is sold out as well. So today we are jumping in the car and driving 2 hours south to Colorado Springs to pick up more cans to complete that third coat. We'd rather have peace of mind and protection than have to pile all the furniture out in a year and do it over! 

Six weeks ago it looked like this. Remember that old carpet? Popcorn ceiling? Dark wood? I do.  But I also had a vision. 

And this was it! Fresh, rustic, and bright. It's home. It's ours. Our hearts are happy. 

I'm hoping the next time I share this room with you will be when we are installing the kitchen. The floor takes 1 week to "cure", so we'll be putting furniture in a week from today! Eeeeeep!

And that, friends, is how you put in a wide plank douglas fir on-site finished wood floor. That's a lot of words. Ta-da!
Happy Hardwood : Part I (Sanding & Staining)

after sanding.jpg

We are now embarking on one of the most gratifying parts of the remodel...finishing the wood floors! The above photo shows the great room immediately after sanding. At this point, we still didn't know how we wanted to finish them. Endless Google searches and Pinterest wandering ensued (what did DIY'ers do before the internet?!).

minwax.jpg

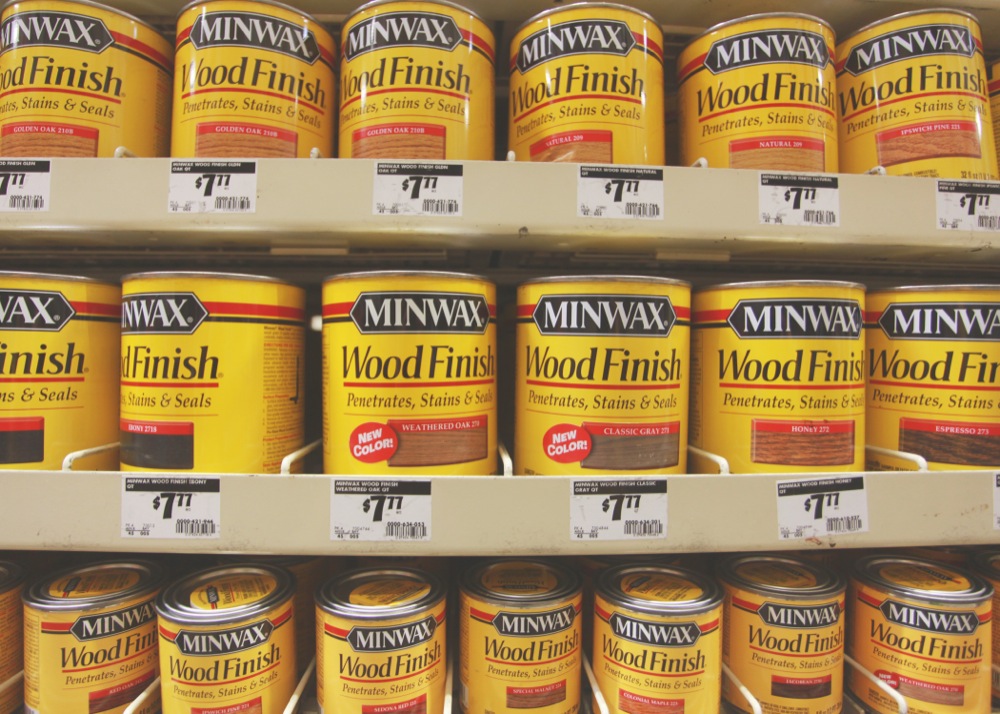
We did some testing with different Minwax stains that we already had on hand...probably 7 or 8. None of them seemed right. We headed back to Home Depot and found a new shade called "Weathered Oak" to try. Because the natural tone of douglas fir is very orangey and warm, I was hoping the grey would offset that a bit. Plus, I love grey. Well, most of the time. ;-)

Home Depot on a Friday night. Emma is not amused! "No paparazzi!".

Here is the final round of testing we did. The special walnut was dark, dark brown...not exactly what we were going for. We had initially planned on keeping the wood natural and just putting the clear coat on top. That test is on the far right. However...it just didn't bring out the beautiful grain in the wood enough. Very one-dimensional. And that's when we decided that we LOVED the weathered oak. The grey color soaked in just enough to bring out the grain and create a sort of barnwood effect. (*sigh* oh barnwood I love you). Each piece of wood has a unique color and grain pattern, so it's variegated and lovely. 

We rented a buffer at The Home Depot...and bought a small remnant of plush carpet to cut into rounds to use as the stain applicator.  The first step even before staining was to "pre-stain" the floor with conditioner. This is recommended, especially with softer woods like fir, to help the stain distribute evenly and to moisturize the wood. We used the buffer to apply that as well. 

All set and ready to go...the moment of truth! 

Here is Matt applying the stain in the master bedroom...we used the buffer to apply it in the bedroom and the great room. He applied it by hand in the art room and the hallway. As you can see...the stain goes on very grey. Matt loved me standing there offering my opinion during the process ;-)

"Oooooooh...pretty!"
"Wait...why does it look like that?"
"Is it going to stay that grey?"
"Are you going to wipe that off more?"

Once I stopped interrogating, it went fairly quickly. And then....

THIS! Ohhhhhhh! I'm in love. I especially like how the grey in the floors matches the grey we chose for our walls (Martha Stewart Cement Grey). 

And so now I just sit and stare at my floors. Look at the beauty! And yes...there is a feather-shaped knot in my main walkway. Do you see it?! This photo shows the cross-sawn marks that the wood has as well. We're so happy with how they turned out! 

Tomorrow I will share how we sealed them and show you the great room all finished! Yay! 

Floors for Days

It's beginning to look a lot like a HOME in here! Matt has been working on the floors all week long. Piece by piece...cut by cut...it's all coming together.

We were doing research on the different trees on our property...and I was SO EXCITED to discover that the beautiful pines surrounding our house are douglas firs! The same exact trees that now cover my floors. It might seem trivial...but I feel so much more connected to our land now. And to think that they could be in this house for the next 100 years makes my heart all warm and happy inside. 

daddy matty on the floor.jpg

This is the face of a man intent on making a beautiful home for his family. I am constantly in awe of his work ethic and his ability to just keep going...even though he is exhausted and has 356 slivers in his hands.  

He decided to purchase the specialty nail gun made for flooring...after starting out with just a regular nail gun. So glad...because it went a lot faster after that! But boy oh boy...that thing is LOUD! Boom boom boom!

For a few hours this week, he had one of his employees come up to help finish the great room. Lucy was thrilled...she is quite enamored with "J.J.". She has affectionately named him that. Even though that's not his real name. tee hee! 

We now have all of the great room installed. The hallway is done as well...and the master bedroom is started. All we have left is the art room (finishing this weekend) and then we get to start sanding and sealing it up!

After considering all of your ideas and looking at lots of photos...we've decided to keep it as natural looking as we can, using a clear-ish satin sealant. BUT...now that we've decided that...we have to decide on a brand. Oh my goodness...it can be very overwhelming. We've looked at Monocoat, Bona, and Minwax.

My goal is to use something with very low VOCs and little odor. It appears we can buy Bona locally...but Monocoat we would have to order. Although, Monocoat seems to be REALLY expensive. We would need about $1,000 worth of sealant to cover our 1100 sq feet of fir. Goodness. So...that's the goal for next week. Onward! 

Oh! And look who stopped by for a visit! Nana and Papa! My mom can ROCK the safety goggles, no? And my dad grew an awesome beard! It was so fun to show them the house again...the last time they were up here was the very first time we looked at the house. Lots has changed...to say the least! 

This little peanut (a tiny replica of my brother Dan) gave his stamp of approval as well. Future builder/contractor in the making ;-)

I'm off to town now to prepare for a little Harry Potter sleepover Bella is having with one of her dear friends tonight. It's her birthday on Monday. 10 years old...whoa! Have a wonderful weekend everyone!