The RV Remodel Begins

You might think it would get tedious remodeling SO many RVs. But it never does. We love it! Each one is different from the last, unique in it's own way. We have learned so much since that very first rig in 2007!

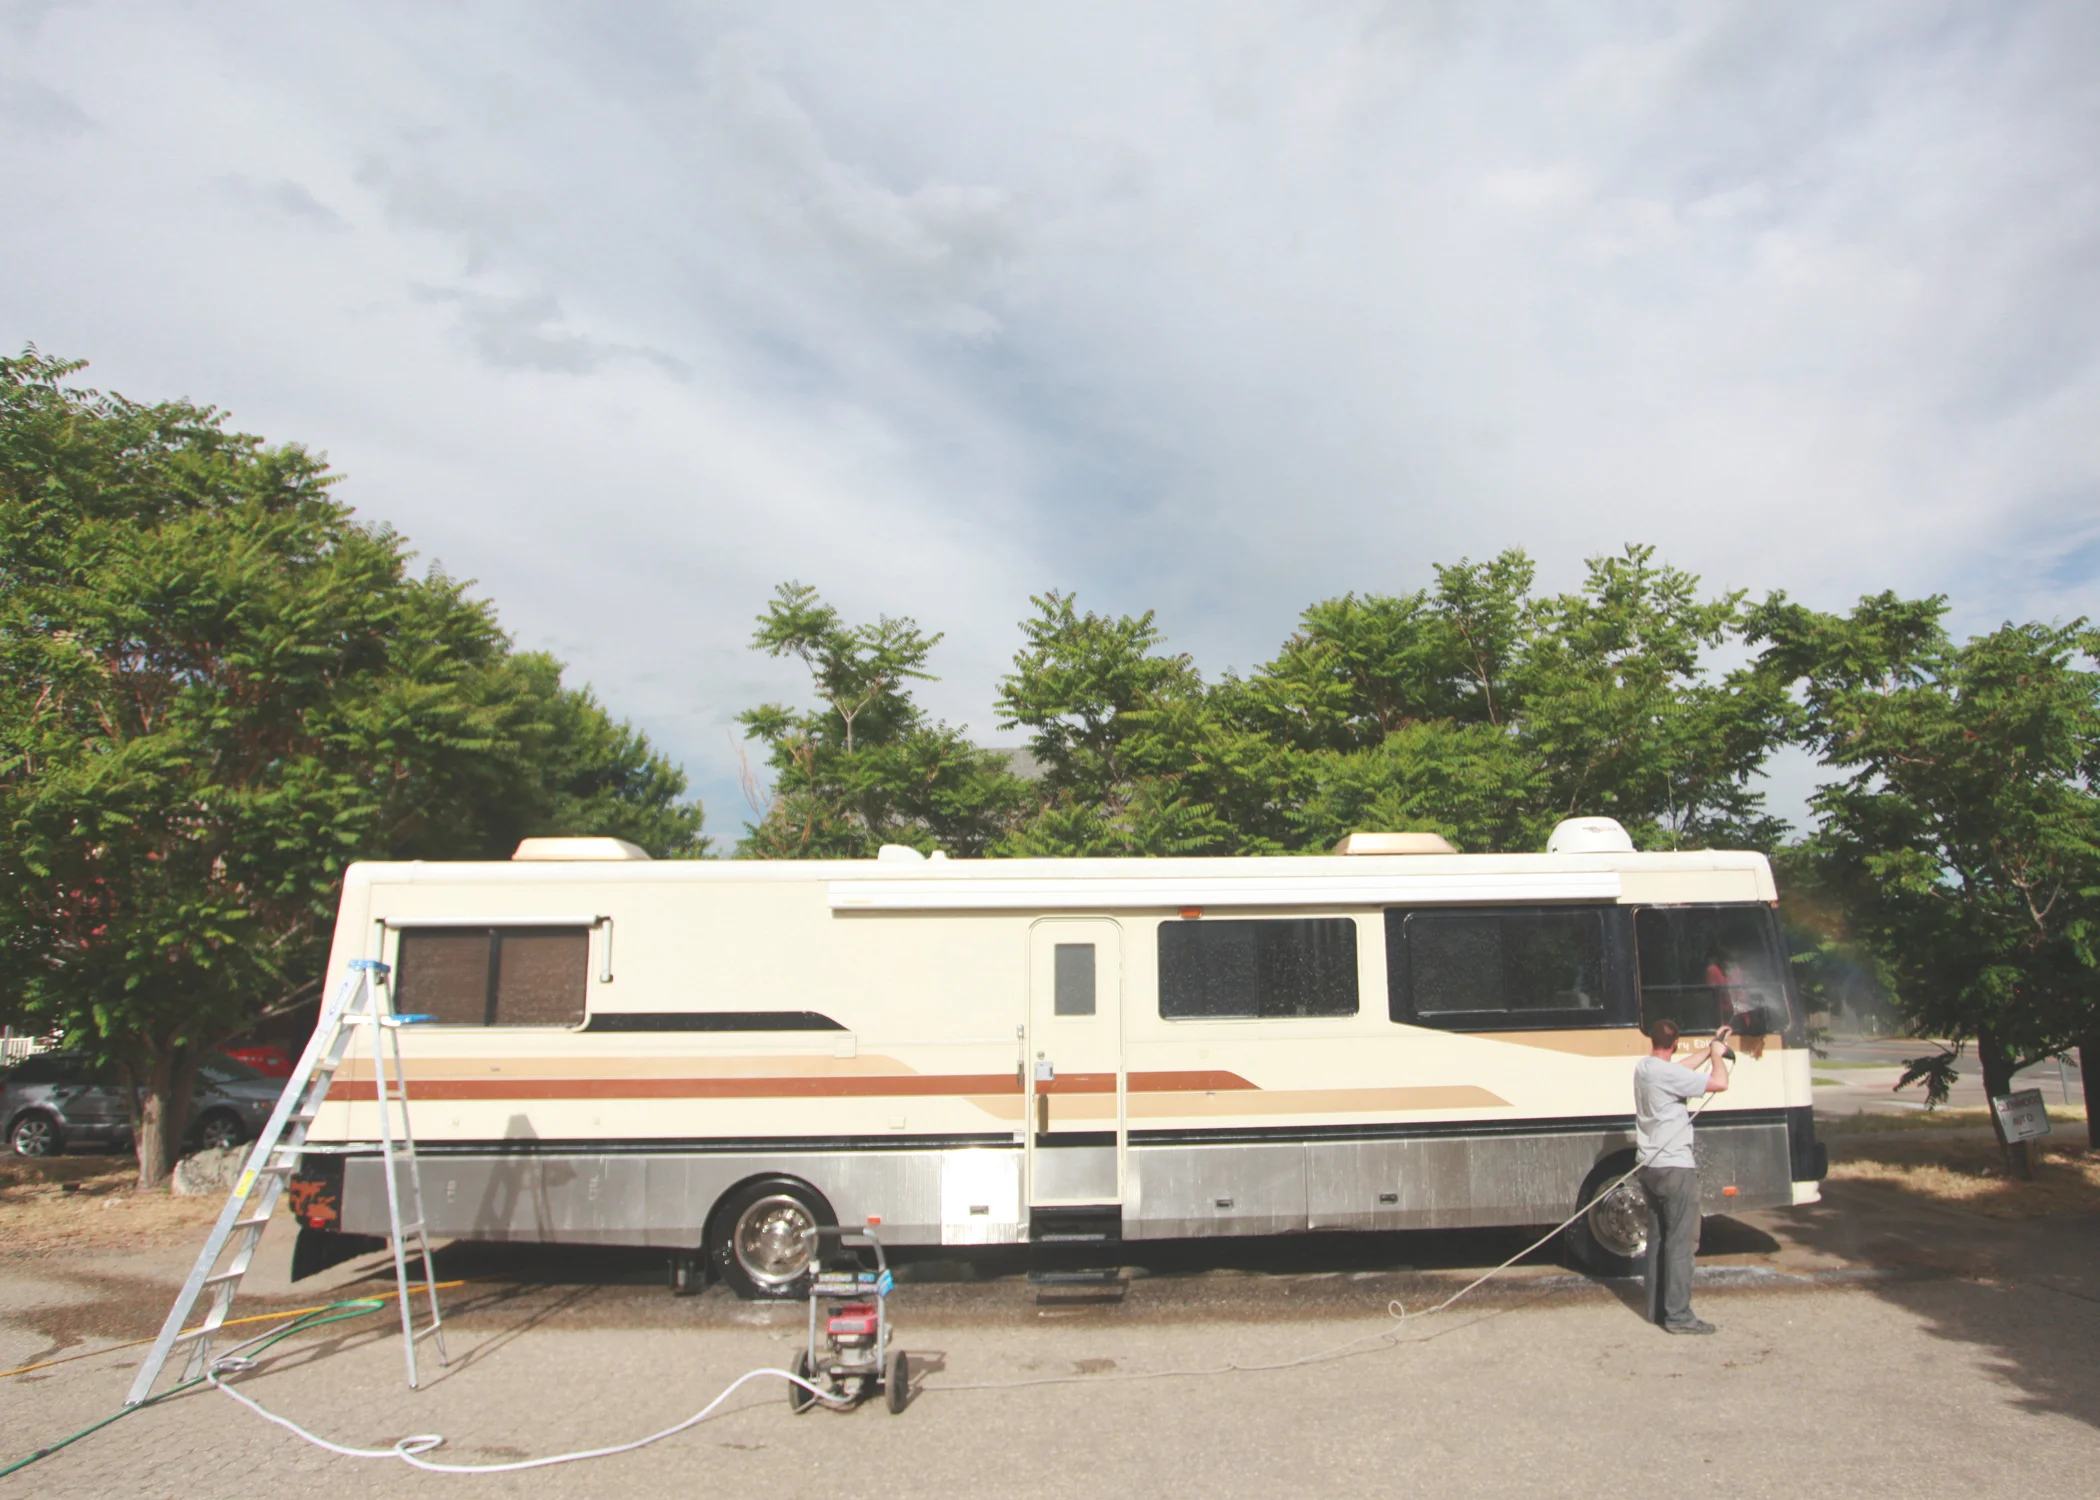
This particular RV is a 40 foot, 1994 Safari Ivory. There are a lot of things we look for when we purchase an RV...and this one had a lot of the things on our "list". 

  • Lower miles for the year (only 44K)
  • Huge windows
  • Space to add bunks
  • Decent-sized fridge
  • Big engine (8.3 Diesel Cummins / 300 HP)
  • Good storage in the underbody
  • Fairly neutral decor
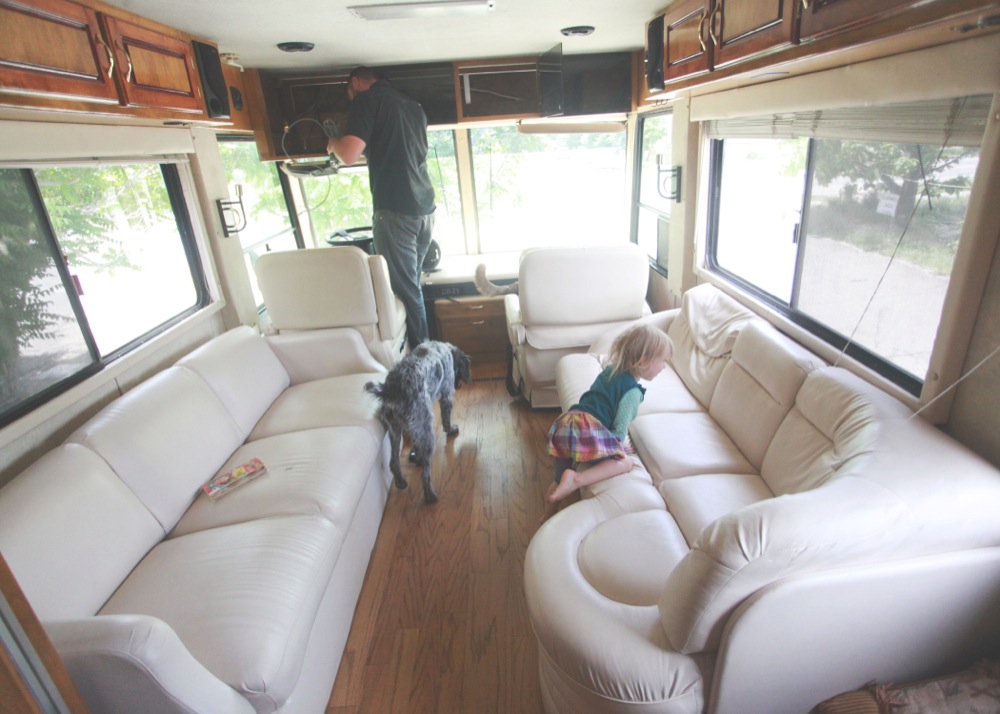
  • Super comfy couches (these are so soft and amazing!)
  • An automatic wind-sensor awning (trust me, this is awesome)
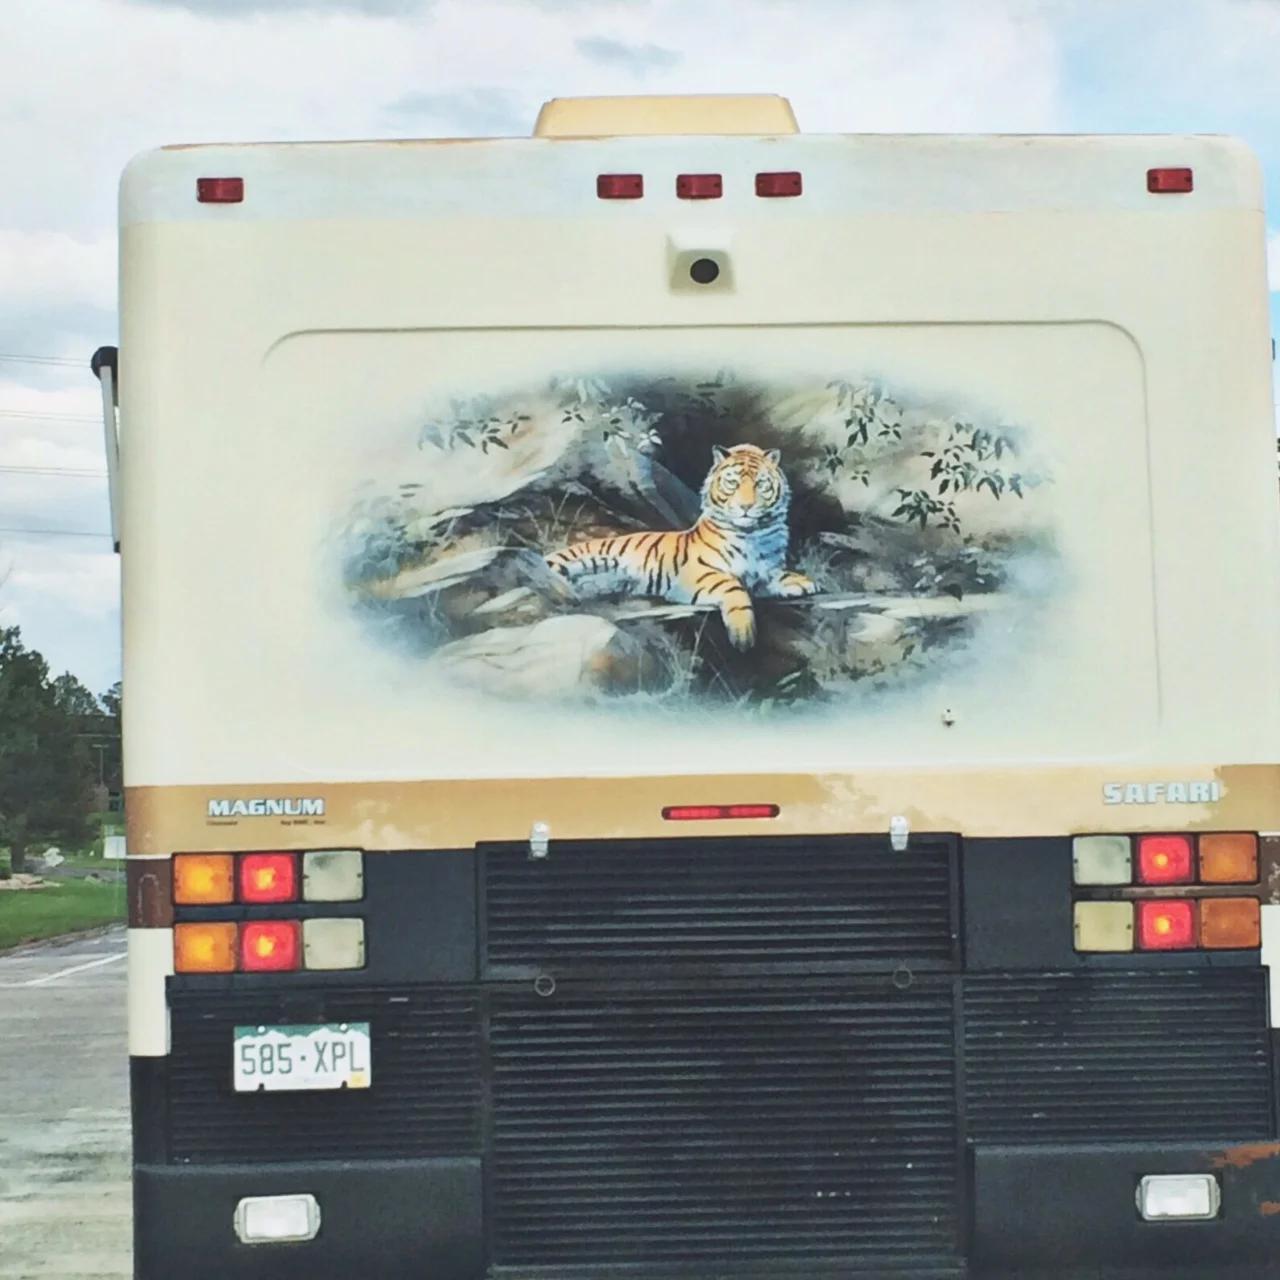
  • A sweet airbrushed tiger on the back. Try not to be jealous.
dash sitting.jpg

And lastly...my absolute favorite thing in motorhomes as opposed to any other type of RV...THE HUGE DASH! I love sitting on the dash (thanks for the dash portrait Bella!). After we park somewhere, I love putting plants and books and dogs and food and all kinds of goodies up there. I have so many happy memories from our past travels of sitting up on the front dash, gazing out to whatever amazingness we were parked in front of at the time. Ocean? Yes. Redwoods? Yes. Dolphins? Yes. Walmart parking lot? Yes. All good things. Not to mention how incredible the open road looks through those giant windows!

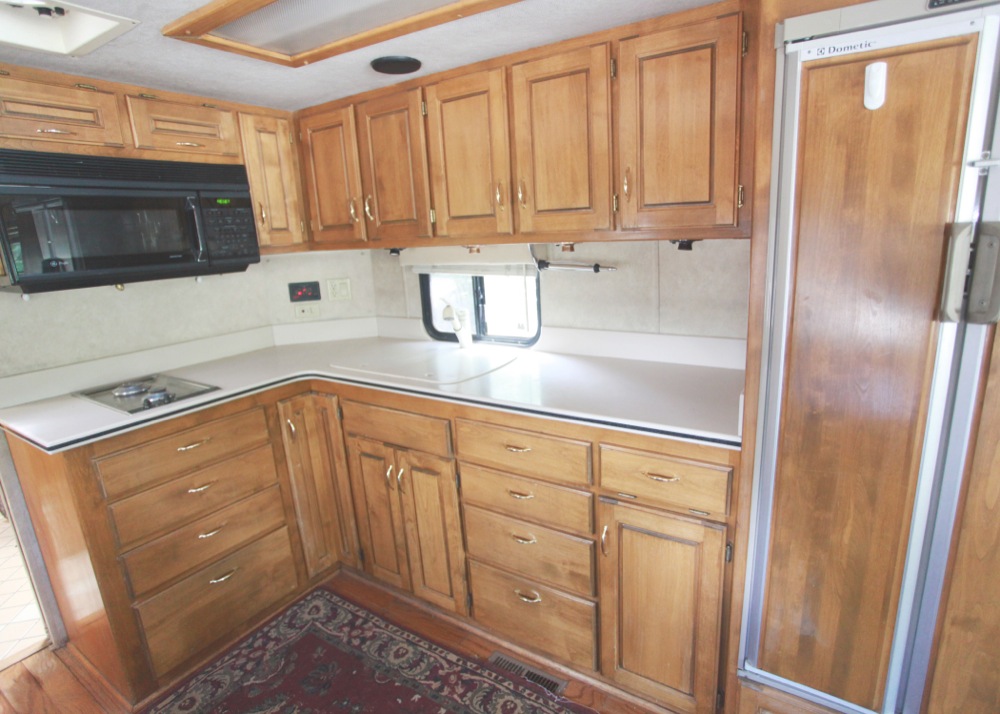
This rig has an abundance of cupboards. Oh so many. And a double door fridge/freezer. Always a bonus. The cabinets are real wood as well...which we have come to find out was typical for Safaris. Same with the real wood floors. 

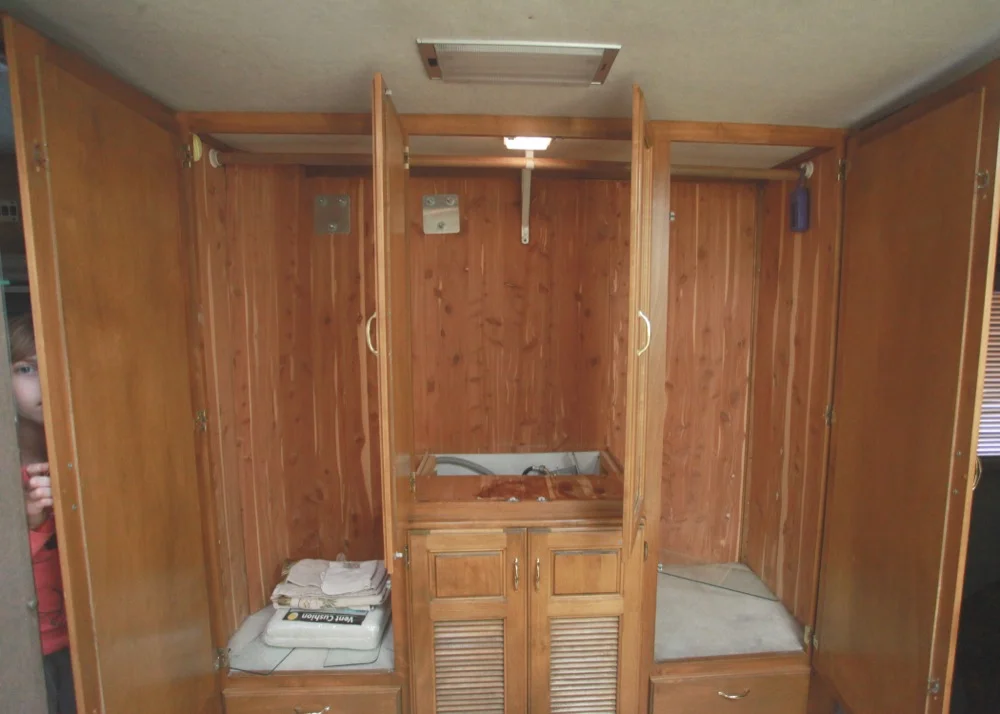
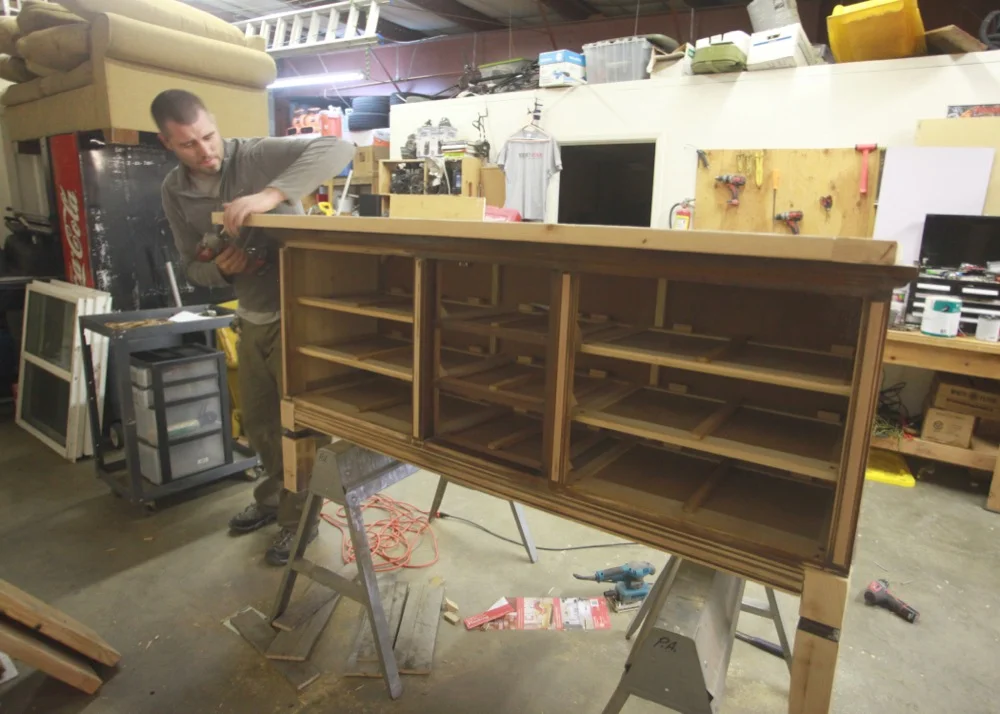
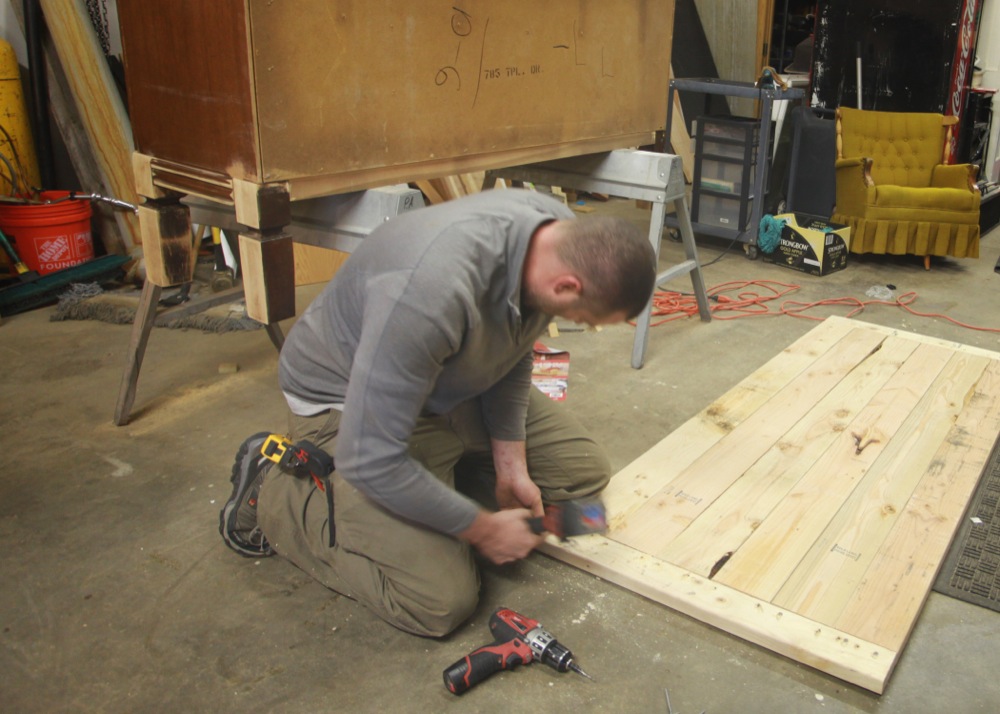
As soon as we saw this, we knew we could bunk it out. Not all large RVs are conducive to bunking...and if you have teenagers, it's certainly harder to find space for wider bunks. But Bella and Lucy will fit in here just fine!

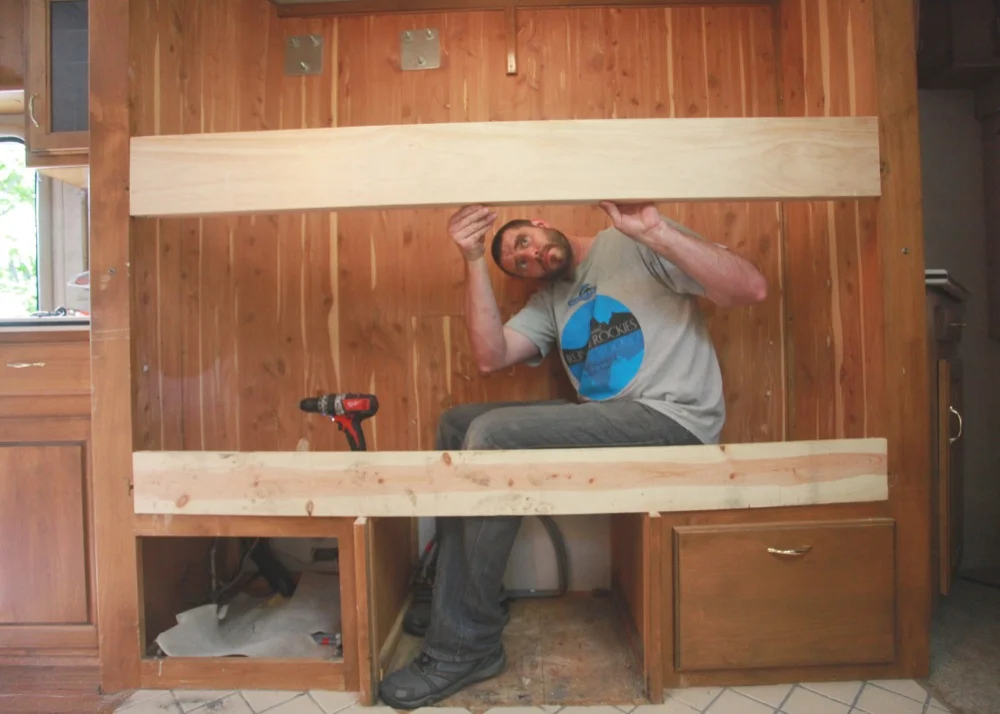
Matt got busy right away on that project and I pick up the custom cut foam for the beds today. Yay! The girls adore their little private hideaways...we'll add curtains on each one as well. They will each have a drawer for clothes below and shoes will be in a basket in the middle. Little Emma sleeps with us in the king bed, although she will try desperately to claim a bunk for her own.

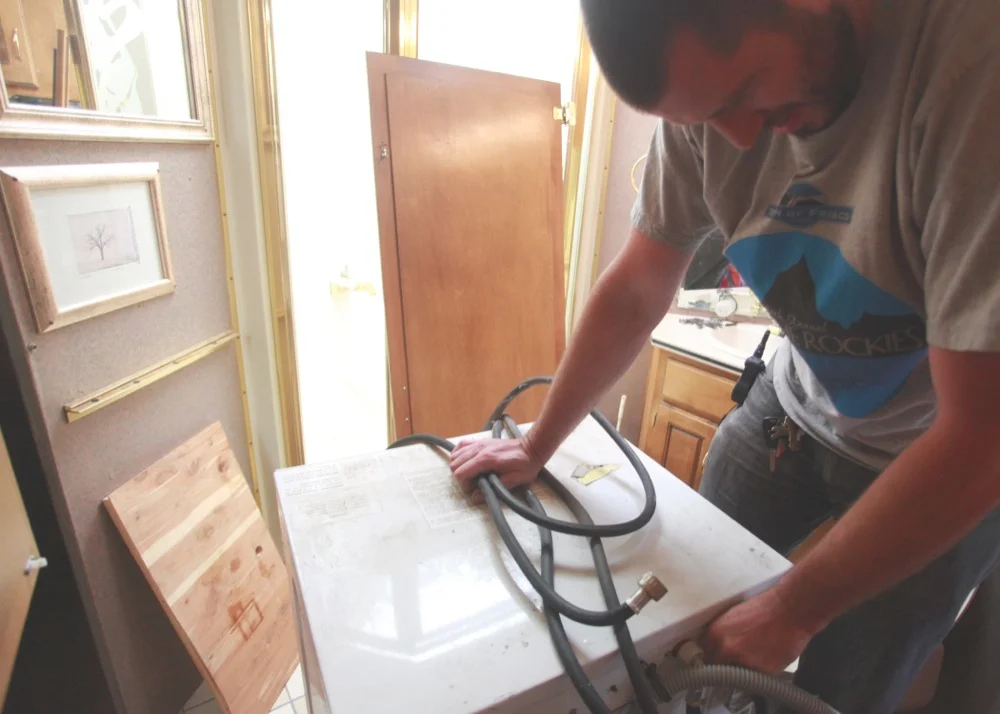
We removed the old model all-in-one Splendid washer and dryer. We will take it to Resource in Boulder for someone else to love. Bunk space was definitely more important than laundry...especially because we won't be living in the RV full time.

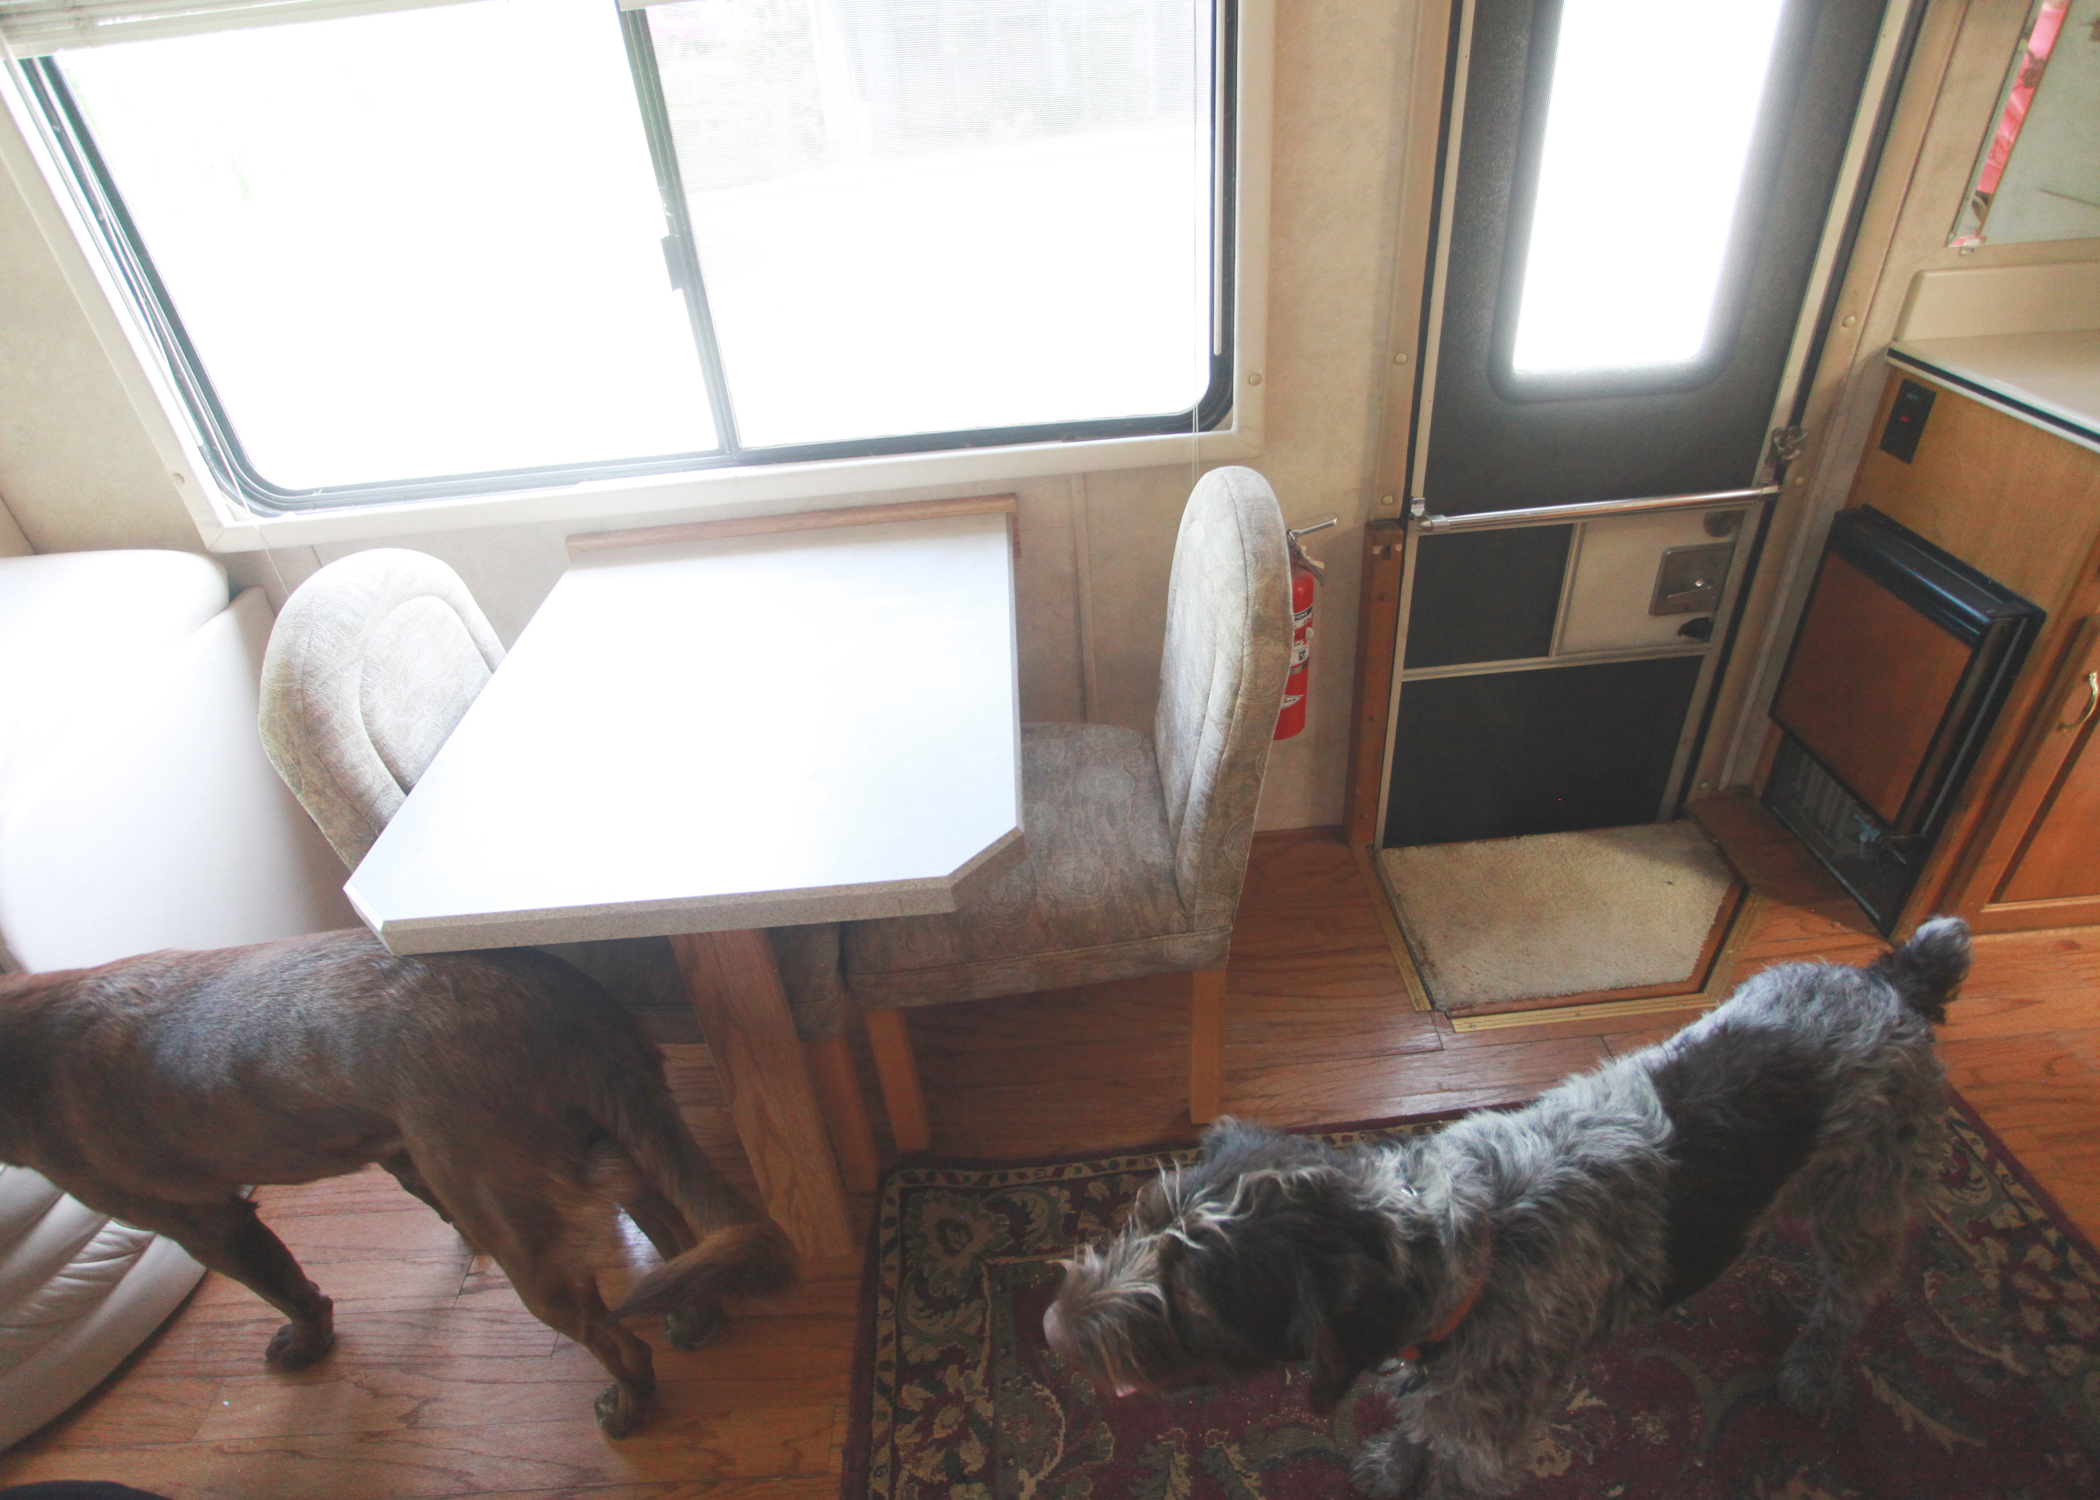
It's a mid-entry...which I love for many reasons. Mostly because I don't have to move all the stuff by my seat in the front for people to walk in and out. The table is small, but pulls out to add a leaf. We'll take out these chairs and add four small chairs or stools. And yes, that's an ice maker by the door. For my margarita dance par-tays. You know it. 

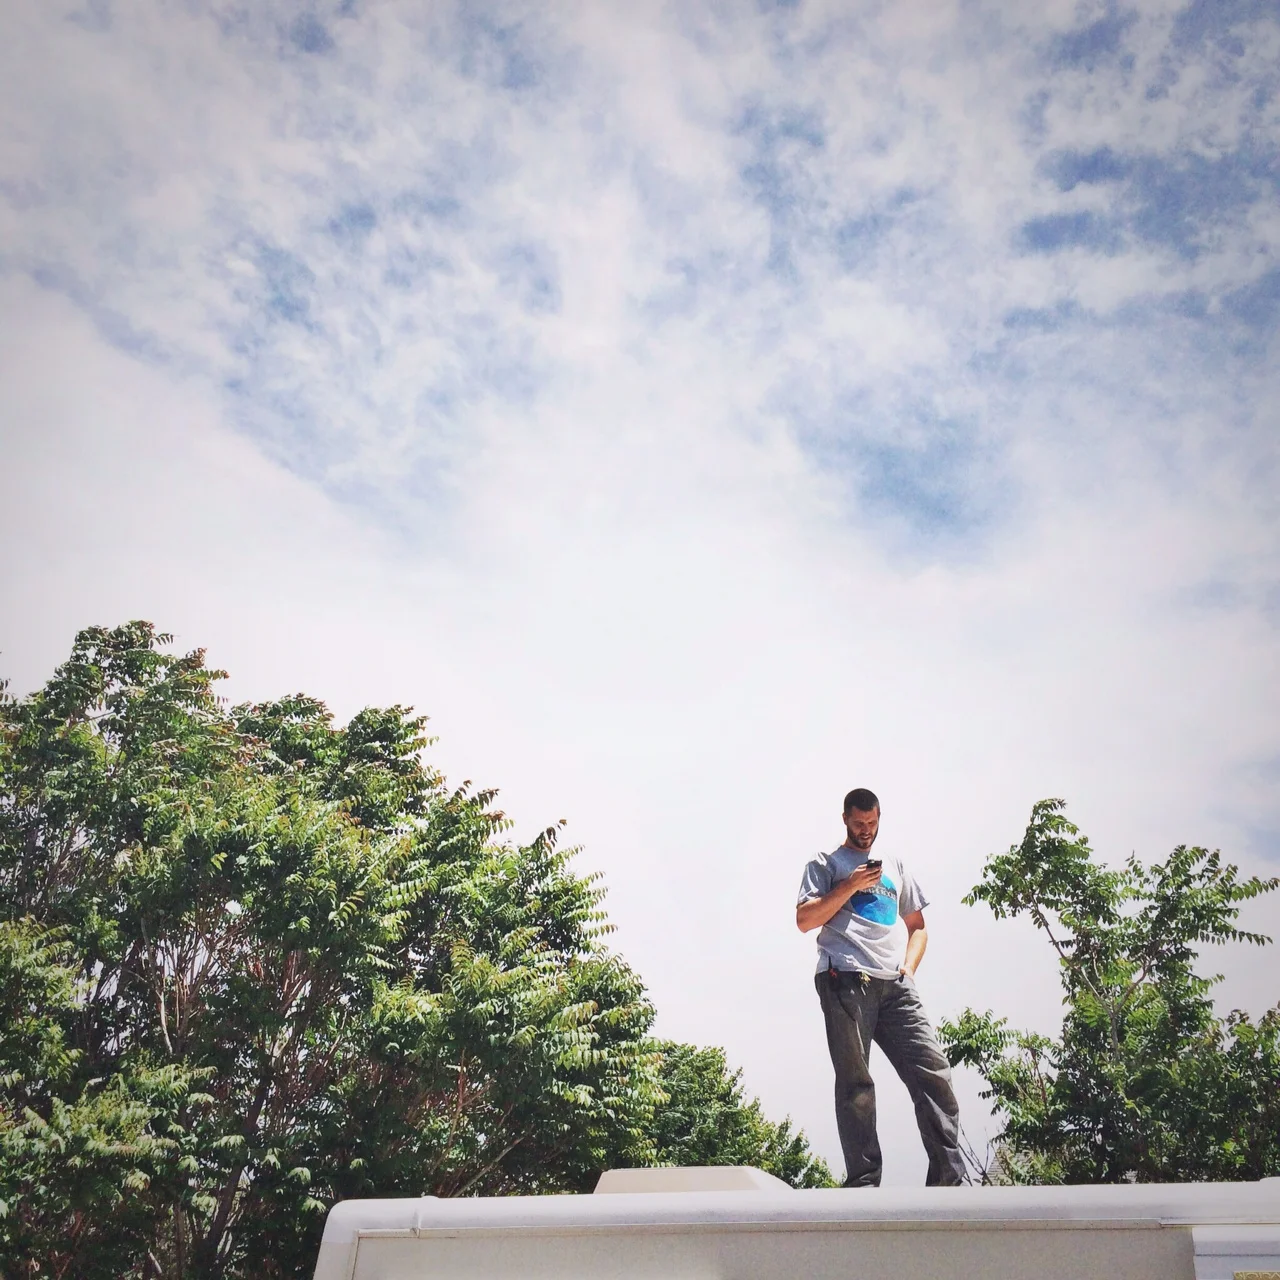
Matt takes his RVs very seriously...reading all the manuals, checking every system thoroughly and fixing all of the little "things" that come up with an older RV. We'll be upgrading and fixing the following:

  • New hot water heater (tankless baby!)
  • New windshield washing tank/mechanism
  • Awning strap repair
  • Replacing locks on underbody doors (many missing)
  • New TV in front
  • King bed frame and mattress
  • Flooring 
  • Curtains
  • Flat tow for minivan
  • General Janssification

That's about it! We probably won't get everything done before we head out for the Midwest, but hopefully before the West coast tour!

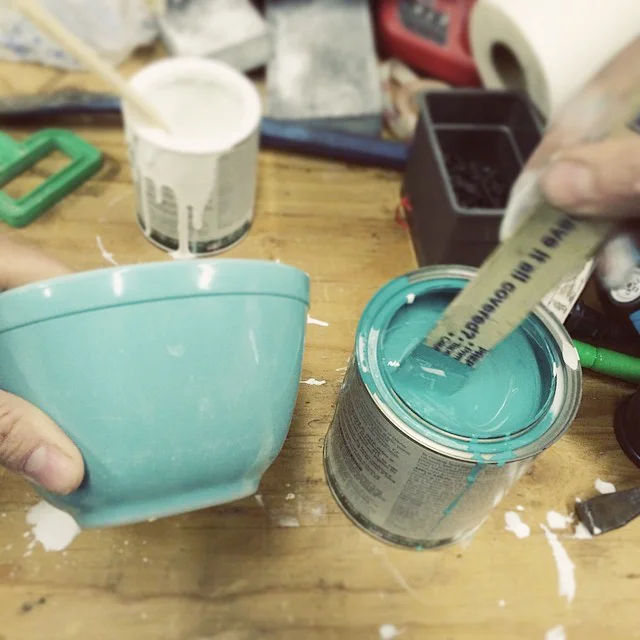
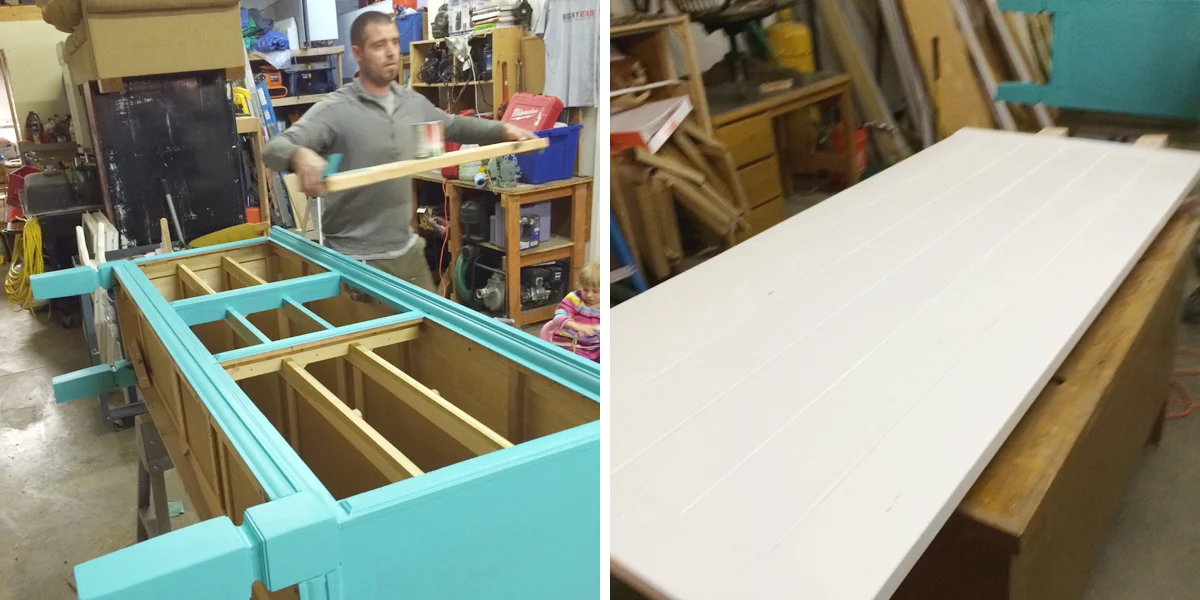
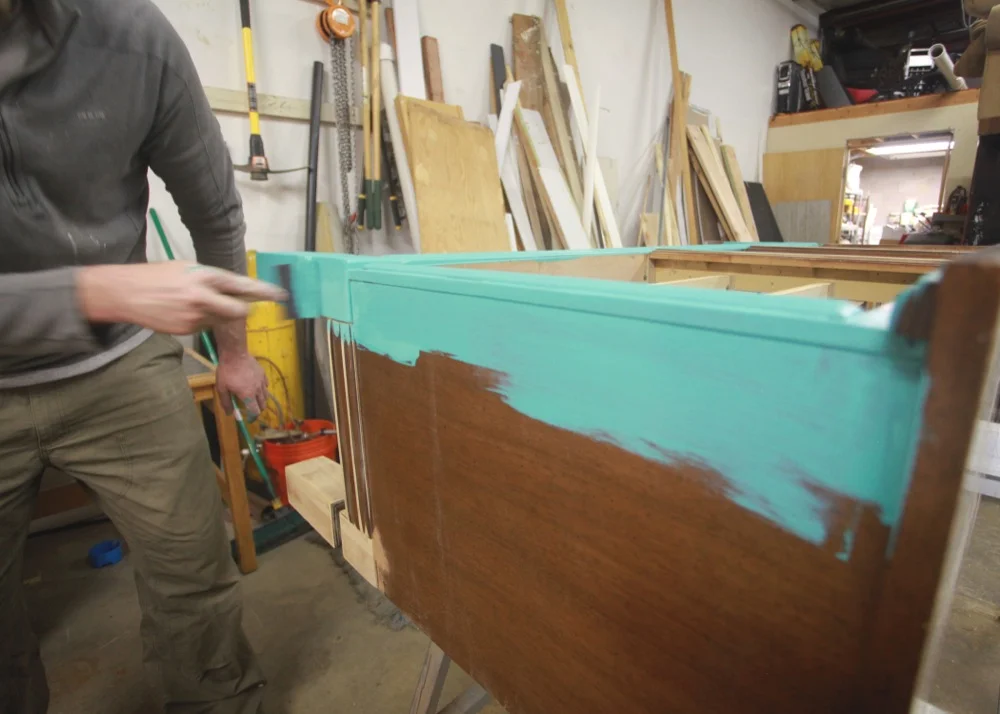
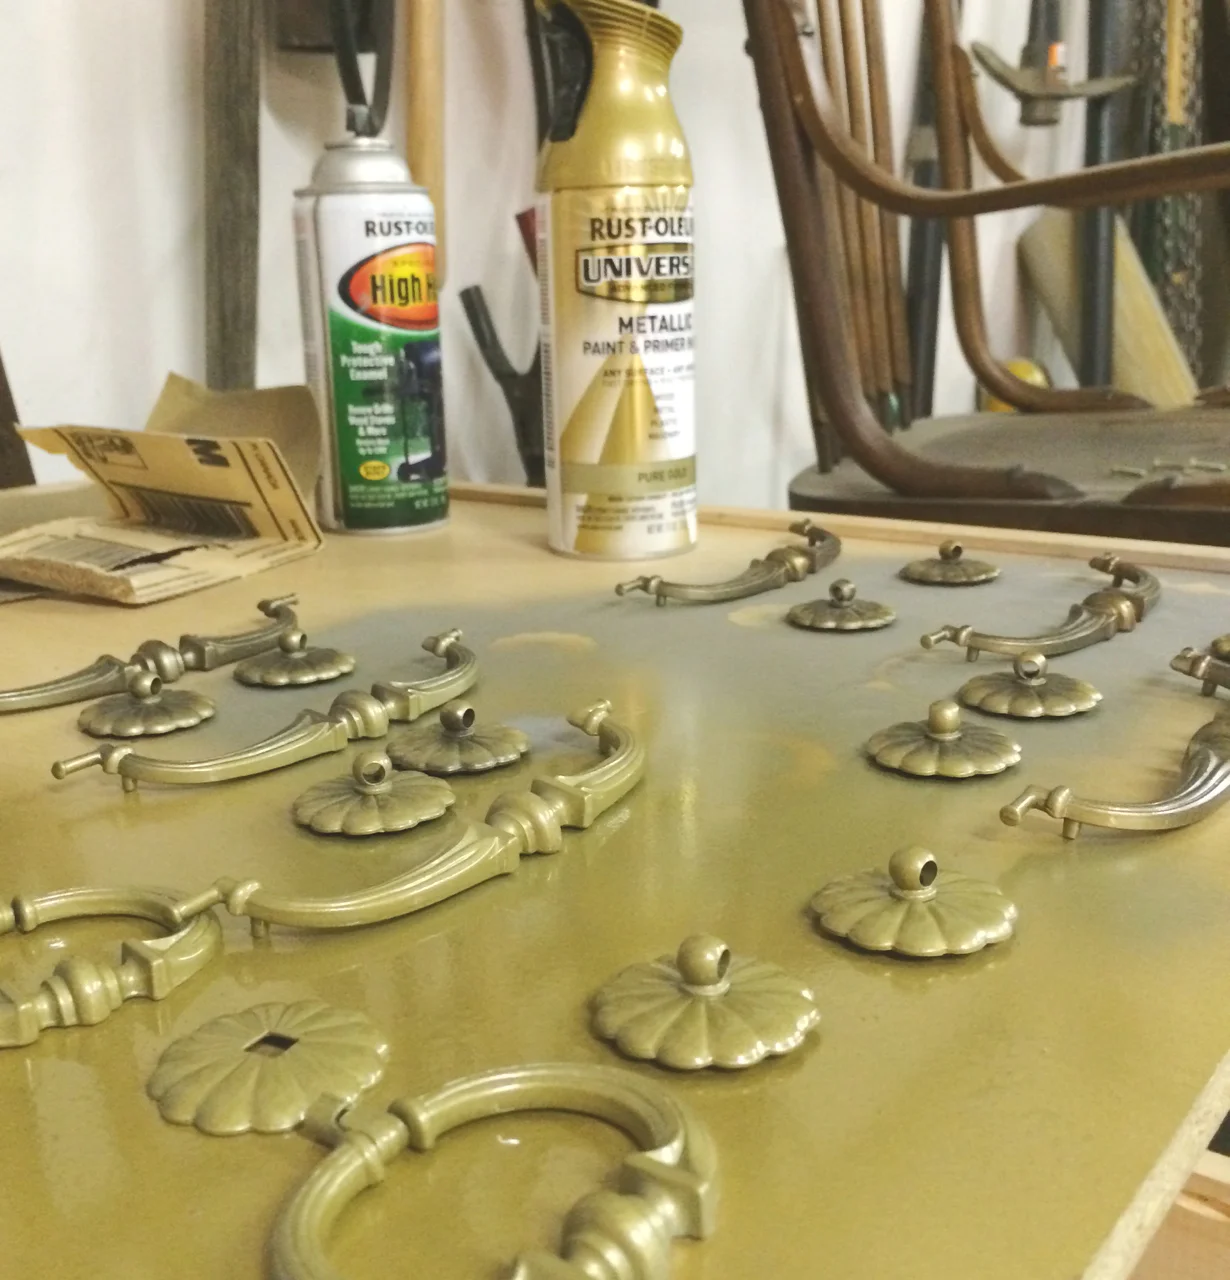
Yesterday I found a bunch of curtains at the thrift store and today I'm looking through our paint stash to see what calls to me. Love having a new project. We needed a little break from the house remodel madness!

Lots of Little Lovelies

image.jpg

We spent the weekend at home...doing some of my favorite things: cleaning, organizing, and adding bits of color and whimsy! Curtains were hung. Storage was added. I snagged a nearly new sheepskin rug on Craigslist. Totally obsessed with it. Unfortunately, so are the dogs. I have to put it up every night. A small sacrifice to enjoy the amazing squishiness. 

image.jpg

We trimmed out several windows with our salvaged barnwood. I love the mixture of bright white + bright colors...and a bit of rustic. Oh, and free is good.

image.jpg

We don't know exactly when we'll be putting in our tile backsplash, so instead of waiting, we hung all of our shelving/pots so that the kitchen is more functional in the meantime. 

image.jpg

The other set of open shelving was hung...which means now my jarred dry goods are on display. Food art!

image.jpg

More curtains...these were originally a huge soft tablecloth that I found for $2.00. I knew immediately that I would cut it in half and clip it up for curtains! No hemming or anything fancy. Just cut and clip! While I was taking this photo...a hummingbird who was wearing the exact colors of my curtains flew up to the window for a bit and stared at me. And then flew away. It took my breath away...pure magic. 

image.jpg

Oh what's that? You thought my wall was orange? Well it's not. LOL! For those of you counting, this is the fourth color that has been on this wall. Yellow, Green, Orange...and now WHITE! After the floors were finished, the color was just..."off". Matt and I were both on the same page this time...knowing that we had to change it. I ADORE the white. This week you will find me dreaming up a gallery wall for that space. Art, trinkets, and more! Eeeeeep! Oh, and I'll be on the hunt for the perfect light fixture. I think I may already have it in my shed...just needs a bit of paint.

image.jpg

Speaking of paint...there will be lots of spraying. Our dining table chairs are getting a facelift. 

...and then this. Oh my. I don't remember the last time I FINISHED an entire book. Front to back.  It's that good. For those of you who email and ask if I'm ever going to write a book about decorating...my answer can now be "NOPE! Just read The Nesting Place"! It's inspiring, accessible, quirky, funny...I want to buy a copy for everyone! You know that feeling when you get to the end of a book and you're sad because you want it to go on forever? Well, I feel like now it can....because she has a blog too! I'm pretty sure I'm way late to the party on discovering Myquillyn. But if she lived in Boulder, we would be BFF's. 

image.jpg

So there it is! Weekend goodness. We did take time to swing in the hammock (under newly hung happy flags!), meet neighbors, walk in the sunshine, and check out a new gathering in Boulder. Oh, and I almost forgot about the bear who came to visit!

And now it's Monday morning...oatmeal has been eaten. Coffee savored. Doors and windows are open with a cool breeze blowing through. Sunshine galore. It's completely quiet outside except for the birdies singing their hearts out.  

It's going to be a great week! Oooop, well, my kids are trying to poke each others eyes out. Gotta run! Still off to a great start! :)

*Not a sponsored post, but Amazon affiliate link on the book. When you use that link to buy anything on Amazon...I get a tiny little bit of the purchase at no cost to you. Thanks for supporting my blog! 

Transformed: Vintage Dresser to Kitchen Island

Here it is! Here it is! I'm so excited to share this with you...because it's been my favorite part of the kitchen remodeling process. We are in love with our cheery turquoise island and the dreamy yellow globe light. It instantly turned our kitchen into a more finished space, and we're thrilled at how it turned out. It's one more piece in the puzzle...many more things to finish in this space, but for now...we rest. And sit back in awe of this blue beauty. 

How sweet is the gold hardware and barnwood? My husband makes dreams come true!

So how did we do it? It all started one sunny afternoon when I walked into a local thrift store. I knew in an instant that this was IT. The one I had been searching for. And oh there was searching. Craigslisting. Antique shop browsing. We even considered just getting the stock IKEA island to match our cabinets. But there it was. Just sitting there. FOR THIRTY DOLLARS! The best part is that it's a 1960's vintage piece, just like our house :) Dovetailed corners and solid wood. I couldn't have asked for anything better in my dreams. It measured 72 inches long. Exactly the size we needed. *sigh* It was all coming together!

Next up was the paint color process. I was still feeling a bit traumatized by the white paint episode...and I was undecided on what color this most important piece should be. I considered green. And yellow. And then I realized that I LOVED this blue color on my vintage Pyrex bowl. I searched Pinterest for some examples, and found this. I totally fell in love and then set out to make it so. 

island paint.jpg

I took my bowl down to the Unfinished Furniture Store in Boulder and low and behold, there was a new color in the General Finishes paint that matched almost perfectly.

I knew it needed to be a bit lighter, so we cut the can of "Patina Green" (which is actually blue)...with a full can of "Snow White". Yes. It was good. So good. 

We needed to raise the island about 6 inches to match our countertop height. Matt had salvaged some legs off of a table that was in the trash and he cut them down and reattached them.

He created the top from pieces of wood that he screwed together and then painted it the same color as our cabinets and distressed it. Eventually, we would love to get a piece of white quartz to replace the top...but for now, it's working great!

He did 3 coats of paint and 2 coats of Vermont Naturals PolyWhey for furniture (the same company we used for our floor).  

And lastly...the hardware! I kept the original hardware because it was cute and I hate buying new when I can re-use the old! I tend to ALWAYS gravitate toward silver. But this time, my heart said GOLD GOLD! There are sooooo many different shades of gold spray paint...but grabbed the first one that looked right. Rustoleum Pure Gold. Perfect. 

And there you have it! For a total cost of $110 with the paint and poly. True love in the form of a kitchen island. 

If you love it...would you PIN IT? I would be forever grateful :-)
Have an amazing weekend!

*none of the products used were sponsored...we just love all of them and wanted to share!