How to Build Your Own Terrarium

How-to-Build-a-Terrarium.jpg

Terrariums are magical...don't you agree?! Every time I come across a tiny little world inside of a glass container, my heart skips a beat. And then it screams... "I WANT ONE! I WANT ONE!" So I finally decided to do something about this obsession...and make my own! And not only did I make a terrarium, but I combined it with my growing love of succulents. Let me tell you how I did it. Yessssss....let the awesome begin! 

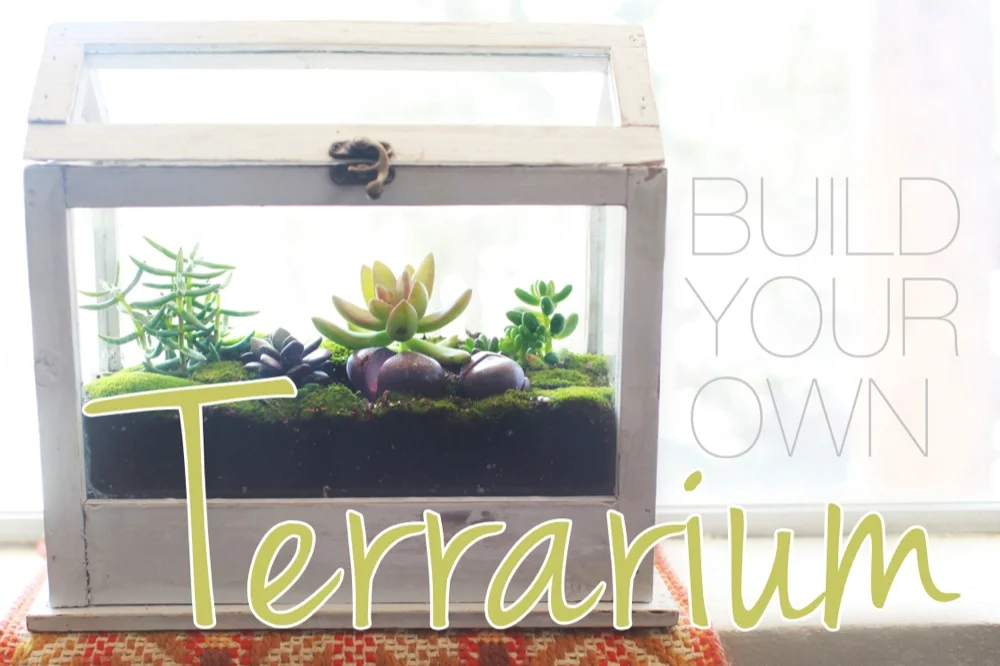
The first thing you need is a container. I found this adorable little glass house at Marshall's awhile back...but you can use any type of glass container that has a big enough opening for you to get your hand or a small shovel into. Fish bowls, clear blown glass, mason jars, you name it. If you have plants that need humidity (ferns, moss, etc) choose a container with a lid. For succulents, you don't need one with a lid. But I like the lid. And succulents. And I'm stubborn. 

So I'm just going to keep the lid popped like this for part of the time. We'll see how that goes. If I hear them screaming for dry air late on a moonlit night, I'll just pop it all the way open.  

Once you choose your perfect container, it's time to fill it with goodness!

The first layer of the terrarium is a drainage layer...because your terrarium won't have holes in the bottom. We just went outside and gathered some rocks from our yard. On top of that, add a thin layer of charcoal (you can find this at a pet store or your local hardware/gardening store). The charcoal is important and will help keep your roots from rotting by filtering out excess moisture and will keep musty smells at bay.

The next layer is the soil. I just used regular 'ol cactus potting mix. No, this one isn't organic...*GASP! Sara! You used to be so much more eco-friendly!". Yes. But on that particular soil shopping day, not having to make one more stop with 3 children to buy different soil was more important than saving the earth.  

Whatever soil you choose, just make sure you match your soil with your plant type. Succulents should have fast draining soil. Ferns and other high-humidity plants can get along just fine in regular soil. Did you know you can make your own cactus soil blend by mixing 50% sand and 50% regular soil? Yep. You can!

And now...the best part! Planting your little babies! Carefully take your plants from their container, gently loosen the root ball, and nestle them into their new home. Give them a little space and be sure to choose plants that aren't going to grow to be 5 feet tall! As your plants grow, you can trim back dead leaves, and remove any plants that get too big. Try your best to use plants that require the same conditions. 

We collected moss from our rock outcropping...and it will most definitely need to be spritzed and watered daily. Way more than the succulents around it. Again...we're experimenting. Not claiming to be an expert...just sharing the love! So we'll see how it goes. I just couldn't resist bringing the moss inside. I love it so! I think our next terrarium will be moss only. A hanging globe with moss and rocks? Yes!

From left to right, our succulent line up...
Mini Pine Tree (crassula tetragona), Anacampseros Rufescens, Golden Sedum (sedum adolphii), Purple Split-Rock (pleiospilos melii 'royal flush'), and Sedum Pork & Bean (sedum rubrotinctum). All covered in that delicious moss.
  

I purchased all of these at Home Depot in Boulder. They have a spectacular array of succulents there and the prices are several dollars cheaper per plant than the competitors. I just happened to snag them the day they put them out...and each time I've gone back, I can tell that they are flying out the doors. I also love to buy plants from the local nurseries at the farmer's market. Boulder Farmer's Market starts this Saturday y'all (*said with breathless excitement).

Let's talk a bit about watering. Resist the urge! The number one reason terrariums fail is due to root rot and the moisture level being too high. If you're using a closed terrarium, there is the possibility that you may not need to water at all because it becomes it own little ecosystem. With open terrariums, you can water them...but cautiously. With succulents, wait until they have completely dried out to water again. Start slow and pay attention to what your plants are telling you!

Check out The Fern and Mossery's tips on curing an overwatered terrarium.
Here is a list of common terrarium mistakes and 15 great terrarium plants.

After I had finished with all the photos...Mrs. Fancy Pants, the snail pictured above, wandered by for a visit. You can have tons of fun filling your terrarium with tiny whimsical items. Fairies, animals, rocks and crystals...any tiny specials. I love tiny special things!

So there ya have it! I finally have my very own terrarium...and I can't stop staring at it! All of my other succulents are jealous because the new guys in town are getting way more attention.

So why stop at ONE terrarium?! My sweet girls just had to get in on the action too. Terrariums are a wonderful activity for kids! 

They chose these sweet recycled glass globes and got busy adding their layers.

I love witnessing them in creation mode...they were giddy to collect everything and get these all set up. 

And there you have it! Now you can make your very own tiny terrarium world!

If  you just love terrariums but don't want to make one on your own, you can buy them here, here, here, and here. I am especially fond of this company and their pretty pink rocks. 

A few delightful terrarium books (*affiliate links):
Terrarium Craft: Create 50 Magical, Miniature Worlds
Tiny World Terrariums: A Step-By-Step Guide
Terrariums Reimagined: Mini Worlds Made in Creative Containers

If you enjoyed this post...help me spread the love and pin it on Pinterest!
My terrarium Pinterest board is here. And my succulent board is here.

 If you already have a terrarium...
share your tips and ideas below!


P.S. Check out my other "How To" posts:
How to Be an Unschooling Family
How to Roast Coffee at Home
Five Ways to Engage Your Community
Fighting for Joy: Five Ways to Find Peace


How To Roast Coffee at Home

so much potential

I love coffee. Really good coffee. One night after geeking out about coffee preparation with my friend Khrista, I went searching for a reputable local roaster. I asked my Facebook friends what their favorite Boulder-based roaster was. And while I did get a few answers...the BEST answer I received was from another friend, Pucky.

He suggested that I could ROAST COFFEE BEANS MYSELF! I don't know why it never dawned on me to learn and experiment with it before. It always just seemed too difficult. He graciously bought me 5 lbs of green beans and had them shipped to my door. I've never looked back!

Getting started with roasting your own beans is so EASY. All you need is an air popper and a strainer. Now...it can't just be any 'ol air popper. The Poppery II from West Bend is widely known to be one that works great for air popper roasting. The Air Crazy is another that has been tested and works. You can find the Air Crazy here. The Poppery II is a little harder to find, as they don't make it anymore. I found mine on eBay, but you might be able to snag one at your local thrift store if you keep an eye out.

I would eventually love to bump up to a "real" coffee roaster...one that roasts more than 1/4 cup of green beans at a time. But for now, this works great!

popper inside

If you have a popper at home, you can try that too, but it MUST look like the photo on the right with the air vents that spin the beans around. Not the mesh bottom. The air vents on the right will spin the coffee while it heats, which is what you want. Here is a link to Sweet Maria's that details everything you ever wanted to know about the air pop/roasting method...including all the different models you could use.

First, I put 1/2 cup of green coffee beans into the hopper and plug it in...making sure the lid is on tight :)

Because this lovely chaff will start shooting out immediately and will continue on through the entire roasting. There will also be a nice aroma...and sometimes "smoke" that fills the air. All the books call it "smoke"...but it's more like a light fog :) that increases with the length of time you are roasting. If you have a vent or window to open, it's helpful...but I have even been roasting in the RV with no problems.

Every type/origin of bean will roast differently...and that's the fun part! My favorite bean so far has been organic/fair trade Columbian, with Organic Bali Blue Moon coming in at a close second. They both handle heat well and can be roasted dark. I've tried a couple that seemed to burn quick and not roast evenly. I roast my Columbian for 12-13 minutes.

Next, I pour the beans into a wire/mesh strainer and spin them until they are warm to the touch and not burning your hand.

At this point, I inspect the beans and pull out any that did not roast fully or have anything funky going on. Then I let them "rest" for at least an hour before brewing. Coffee is at it's most flavorful 4 to 24 hours after roasting. Which is precisely why if you enjoy coffee, you should roast your own. Even the coffee you can get from your local roaster will most likely be at least 24 hours old. In some cases, the beans you are buying are MONTHS old (or more...gasp!).

I store my beans in a re-purposed steel coffee tin...but you could use anything with a tight lid. Here are some great coffee storage tips.

hand grind

hand grind

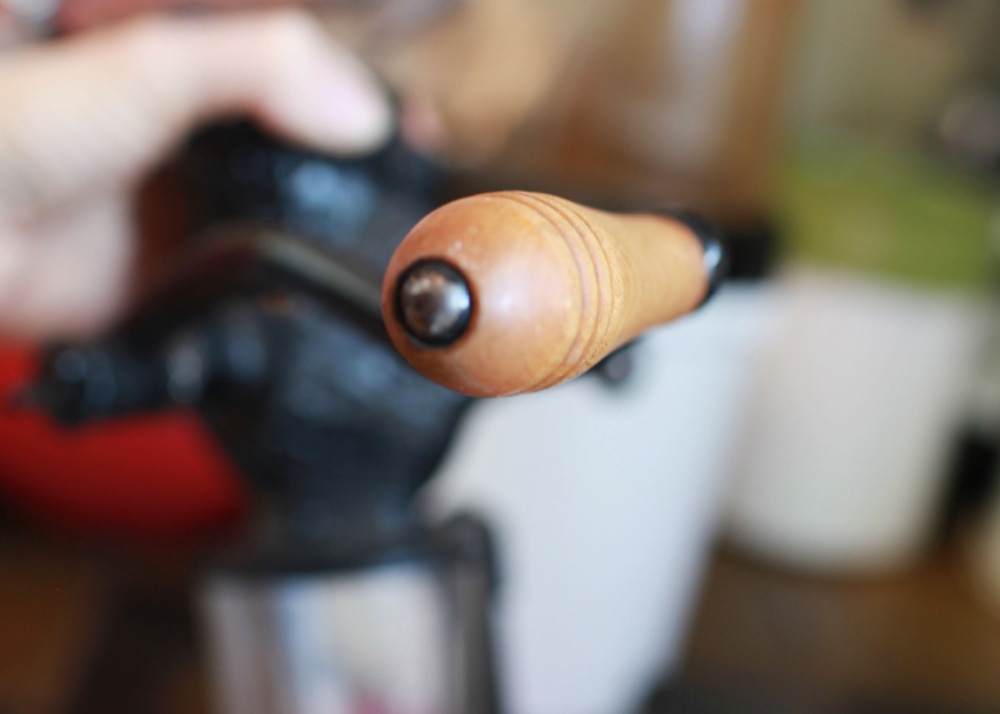
Now...for the grinding! I am currently using a blade grinder, but have plans to be using this beauty soon!! My Dad used this all through my childhood and he recently gave it to me. It's an antique Arcade Crystal hand crank burr grinder! The screw is broken and I need to get it replaced, but I am SO thrilled to have this amazing piece in my home.

There are so many grinders out there to choose from. If I didn't have the Arcade, I might be getting this one. Or, even better, this one. The grinding style really does affect the taste of your coffee...so choose wisely!

My favorite method of brewing is the Aeropress. It quickly and efficiently makes espresso shots...with minimal mess! I've used it for several years without fail. There are MANY different methods of brewing with the Aeropress. In fact, there are even Aeropress World Championships where coffee aficionados compete with their own tweaked Aeropress style. There is even an iPhone app! It has a lot of different ways to brew.

Personally, I've been using a variation on "The Jay" (iPhone app version). I grind it to an espresso grind (fairly fine)...and dump it into the canister, with the plunger at about 4.

Much of the time, I use a Hario kettle because I love that I can pour it reeeeeeeally slow and controlled (which is great for making Chemex coffee, but that's a topic for an entirely different blog post!). Other times, I use my regular electric kettle.

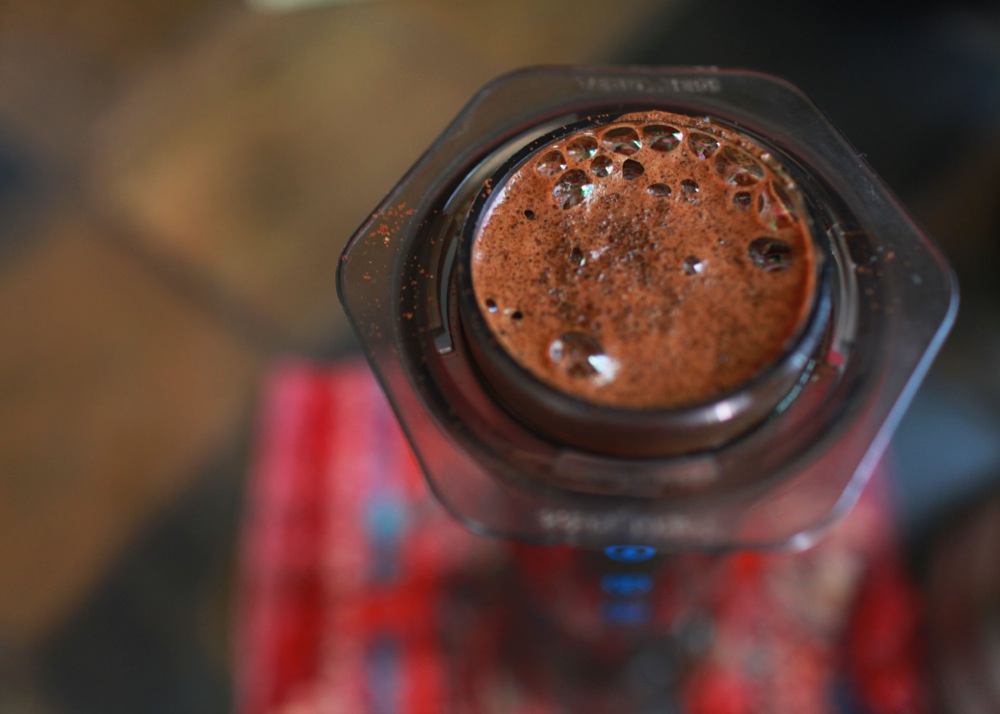
After the water comes to a boil, I let it sit with the lid off for a few minutes to bring the temp down to 175-185 degrees. I then pour in just a little bit of water to allow the beans to "bloom" a bit. Then I pour it to the top and stir for about 10 seconds. I then replace the lid with a rinsed paper filter and screw it on tight.

I let it sit for approximately 2 minutes and then I invert it over my cup and press slowly for 20 seconds.

Voila! Espresso!! At this point, you can fill the rest of the cup up with hot water and you'll have an Americano. Or...

You can make a latte! I like to add a little foo foo to my espresso...and my handy dandy Nespresso Aeroccino has become my BFF in that area. It makes heated, frothed milk with the touch of a button. You can choose between frothing and foam...and it works AMAZINGLY well even with almond milk!

I like to add a little vanilla Monin syrup!

This is my favorite part of the process because I know my latte is soon to be done!

Nothin' prettier than a fresh latte on my mug rug!

This mama needs caffeine!

happy mama

happy mama

Aaaahhhhhh....happy mama!

So good. This process has saved me OODLES of money because I rarely go out for coffee any more! I've found my home roasted beans to be so far superior tasting, that everything else is just...well...bad :) And the frother/syrup fulfills my need for something fancy. Try it for yourself...I know you'll love it!

A few tips and links:

  • This seems like a lot of steps and somewhat complicated. It's not. Once my hot water is boiled, it takes 2 minutes.

  • The cleanup of the Aeropress is my favorite part. Just unscrew the lid and "snap" the puck of grounds out into the trash or compost. So easy! Rinse the device and you're done. So much easier than a french press.

  • Experiment! Roasting can be quirky. I got lucky and it worked pretty well on my first try. I think Columbian beans are a good starting point.

  • I have recently started to roast my beans longer than I THINK I should...and they usually turn out perfect. I used to dump them at the first smell of "burny"...but they needed a little extra time.

  • When roasting decaf, they tend to turn dark faster and it's hard to tell when they are done. I recently did a batch and I took them out early and cooled them...and then roasted them a little more to the color I wanted. I have no idea if this is the proper way to do it, but they turned out ok!

  • Educate yourself! Here are a few books I like:

books

books

Joe: The Coffee Book and The Blue Bottle Craft of Coffee. Both have AMAZING photography and are perfect for learning more about all things coffee! Joe focuses on east coast coffee culture, and Blue Bottle is west coast. Another great book is Home Coffee Roasting.

I currently buy my green beans from U Roast Em. They always ship very fast...I usually have them within 3 days. I would also like to start ordering from Sweet Maria's. Their variety is mind boggling...and I'd love to try some of their interesting blends. It's so fun to experiment!

And lastly, you must check out Sweet Maria's resource section. So much fantastic info there. I get giddy every time I click this link. Eeeeep! Coffee goodness! :)

And so...this has been my coffee roasting and Aeropressing journey. I look forward to my coffee daily! And because I know some of you will ask...I haven't completely abandoned my love of yerba mate! I was just getting burned out and needed something different. I still drink mate occasionally.

I can't wait to hear about your own coffee adventures! If you currently roast your own, I'd LOVE to hear your tips. I am such a newbie at this but I love it!

 **I am not affiliated with any of these companies and I’m not receiving compensation. Just sharing for the love!

How To Be An Unschooling Family

I know this title is a bit silly...because every unschooling family looks different from the next. BUT...I wanted to show you what it looks like for us on a typical day and how that translates into some of the grand truths about unschooling.

1. CREATE things together & and don't be afraid to get messy. Now that it's winter and we are spending a lot more time inside than out, there are projects galore. I saw this on Pinterest recently and thought it would be fun to jump on the melted crayon bandwagon. We had a great time coming up with different color combos and watching them melt slowly in the oven. Bella loved making them...but it was Lucy who was even more thrilled with the final product. The little crayons that formed in the silicone mold were the perfect size for her little hands.

2. Show your children new ways to make stuff. We've been making TONS of homemade play dough around here lately! There is just something so different about the warm, just off the oven dough...the store bought cannot compare! We finally got some gel dyes to make lots of different colors and that has been really fun. We did try using red cabbage and turmeric for coloring, and while they did turn them colors, they weren't as vibrant as we hoped.

The girls have spent hours and hours over the past couple of weeks creating dish after play dough dish...taking orders with handmade menus...their little hands furiously rolling and cutting and "plating". We've been watching some Food Network shows together and it's so cute to see what they come up with.

3. Encourage your children to pursue their passions. Bella has always been enthralled with fashion design and clothing. She will often re-purpose clothing and create new items for herself to wear...but lately her love is creating Barbie clothing. This lovely little number was made using old tights and a few safety pins. I love the cowl neckline...don't you? 

Our next step is going to be to set up an area in the toy room dedicated completely to this passion. There will be a sewing machine, thrifted fabrics, buttons, and other goodies so that she can create whenever she wants, when she wants. As an unschooling mama, my job is to give her all the tools she needs...and then step back and let her do her thing! I would also love to find an opportunity to shadow a "real" designer sometime. If anyone has any great resources/books for us in this fashion design journey...let me know!

4. Stand in awe of the amazing world around you! These glorious icicles have been forming for a few days with all the melting and re-freezing up here in the mountains. The girls love to look at them, hold them, and experiment with them. There is so much to be learned from nature.

Science is easily understood when children can experience hands on learning!

5. Buy glue sticks in bulk. Ok...ok, I'm kidding. But no seriously. We love the glue sticks. Spelling and fine motor skills were honed when Bella sat down next to me and decided to create a pretty box to put her money in. She wanted to cut out the letters to spell "ALLOWANCE". We spent several hours cutting and chatting and gluing.

The fun part is that I was the one who was sitting at the table first...adorning my prayer journal with pretty letters. She saw me hard at work and wanted to join on her own...I didn't have to declare "art time!" It spontaneously happened. Like life. That's why unschooling is often referred to as Life Learning!

6. Let your children be who they are. It's sometimes hard to step back and let our children be who they are without constant input from us...in areas that really don't need input or guidance! But if you're able to do that, you will see their true personality SHINE through and it makes life truly joy-filled. In my interactions with other unschooled children...it's always so apparent that they are trusted and supported at home in whatever they decide to do. They are, for the most part, independent, outgoing, and pretty much brilliant!

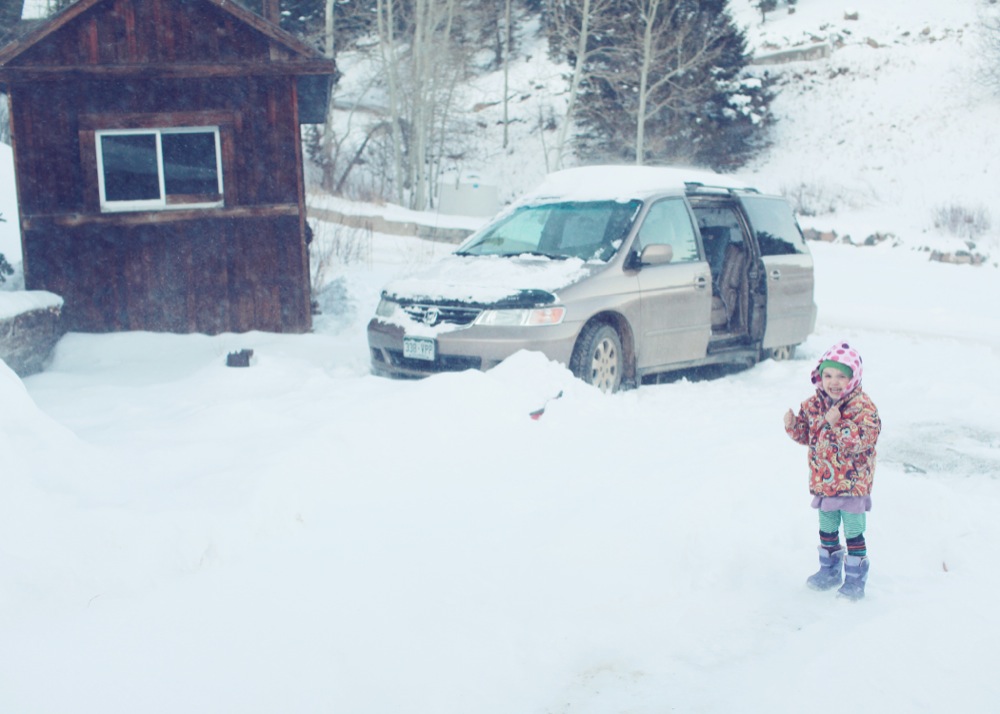
7. Follow YOUR dreams and pursue YOUR passions! When your children see you going after what you love and loving life...they will follow. This photo is called "Put the camera down mom and just get in the car because we are FREEZING!". But hey...at least my girls know without a doubt that I love photography! :) If I want them to live a passionate life, I have to model it in my own.

If you are interested in finding out more about unschooling, here is the page with all of my thoughts and resources in one place! It has answers to commonly asked questions and links for you to follow!